How do I schedule different Leads to send emails on different date ?
When you want to schedule emails to go on pre-determined date for individual leads so that all leads won't be scheduled on single day.
Knowledge Base for 7Targets AI Sales Assistant aka Virtual Sales Assistant
You can be assign (potential) client contacts from JobAdder to 7Targets AI Sales Assistant directly. AI Assistant will then ‘be the owner’ of the contact/lead. Now the assistant will nurture this lead, send emails to this leads, with a goal to get a meeting. Assistant will update all the communication details (emails) in JobAdder.
After AI Assistant is done with her job, Assistant will change the status of the lead to Active/Inactive lead status. For eg. if the lead says ‘he is not interested in having you as a vendor’, lead status will change to ‘Inactive’. If the lead responds with ‘I would like a meeting’ - status is changed to ‘Active’.
Important Note: JobAdder Admin level access is required. Org Admin access on 7Targets is required too.
If you are not already authorized to setup the integration, then Authorize yourself by clicking this link authorise.
You can confirm or check your integration connectivity from 7Targets “Org Messages”->”CRM Details”. The CRM Details section below has the Meanings of different statuses.
Once Authorization is complete, follow below steps for further configuration.
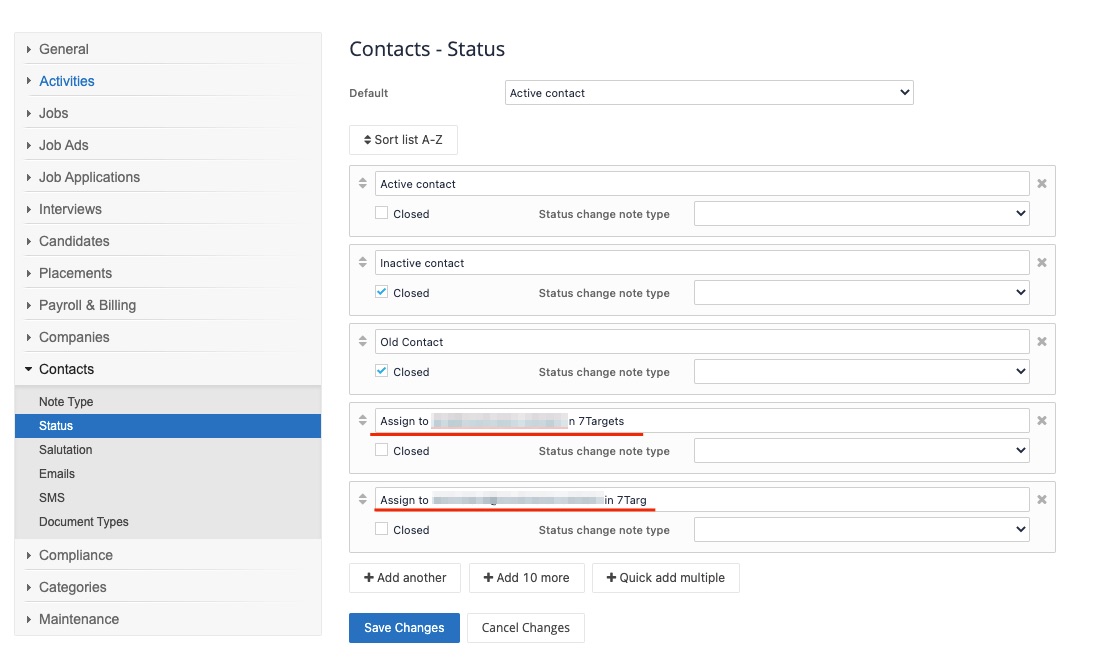
Create individual statuses for each assistant in JobAdder under Account->Admin->Contacts->Status. The status value has to be in this format Assign to <assistant email without the part 7ts-e.com>
e.g. if Assistant’s email address is ashley@tesla.7ts-e.com, then status value would be Assign to ashley@tesla
Remember to click on Save after adding the status.
Create as many statuses based on the number of Assistants you have. So that you can assign to the right leads to the right assistants from JobAdder itself. You maybe creating different specialist sales assistants for each sector/geo, and hence this facility can give you a personalization edge over generic emails.
After the above step is done we have to sync it with 7Targets. So, in 7Targets go to “Org Messages”->”CRM Details”. Click the Sync Assistants button to verify if the status for each Assistant is created in JobAdder and link the right Contact Status in JobAdder with the right Assistant in 7Targets. Verify the CRM Integration Status against each Assistant.
ASSISTANT_EXISTS_AS_USER_IN_CRM : You are all set. Go ahead and assign the contact from JobAdder to the Assistant by changing the status of that Contact in JobAdder. That contact will be seen as a lead in 7Targets within 1-2 mins. Assistant will also update the note for the contact in JobAdder.
ALL_WORKING_WELL : All set, it is working well for you. You have already assigned contact in JobAdder to the Assistant and Assistant is working on it too.
ASSISTANT_DOES_NOT_EXISTS_AS_USER_IN_CRM : Go back to step 1 above. If you are still facing issues, drop an email to support@7targets.com.
ASSISTANT_NOT_YET_CREATED : Follow Step 1 onwards.
3. Verify (in 7Targets) that your Assistant has a ‘Default Context’ and a ‘Default Sequence’. These settings are available on ‘Edit Assistant’ page. Default context and Default Sequence is used by the Assistant to create emails for any lead assigned to that assistant from JobAdder. Unfortunately, you cannot change the sequence/context from within JobAdder, since there are no such fields present in JobAdder today.
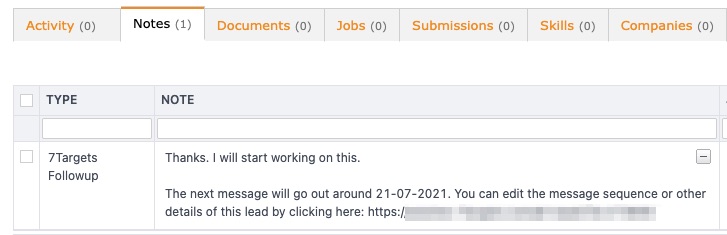
4. You are all set. Assign a contact in JobAdder to the Assistant and verify that you see the lead in 7Targets in the “Leads” page. As well check that Assistant would have left a note in the Contact Activity in JobAdder.
Feel free to reach out to support@7targets.com for any help required in setup
Assistant updates the JobAdder Contact Status as per the below mapping:
| 7Targets Lead State | JobAdder Contact Status |
|---|---|
| Cold | Assign to <assistant email> in 7Targets |
| Engaged | Assign to <assistant email> in 7Targets |
| Warm | Active Contact |
| Hot | Active Contact |
| Responded | Active Contact |
| UnSubscribed | Inactive Contact |
| DeActivated | Inactive Contact |
| Processed | Active Contact |
| New | Active Contact |
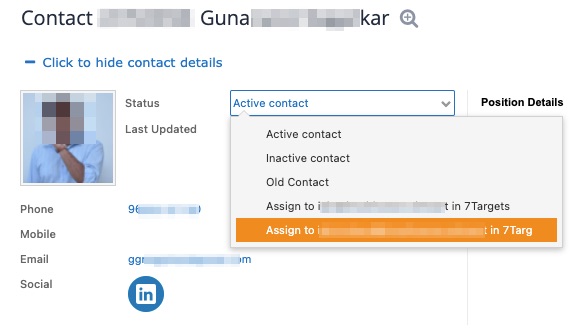
One or more contacts from JobAdder can be assigned to the Assistant by changing the status of Contact/s from JobAdder to Assign to <assistant> in 7Targets as show in the below image:
While assigning multiple Contacts to Assistant from JobAdder it may happen that existing Contact is reselected and tried to set the state to “Assign to Assistant…” . This is like reassignment of the Contact to the Assistant. Below are the possible outcomes based on different scenarios.
If new Assistants are added or existing Assistants name/email id is changed then follow the Step1 and Step2 again from Setup Details
If some Assistant is Deactivated in 7Targets then manually remove the corresponding Contact->Status in JobAdder too.