How do I schedule different Leads to send emails on different date ?
When you want to schedule emails to go on pre-determined date for individual leads so that all leads won't be scheduled on single day.
Knowledge Base for 7Targets AI Sales Assistant aka Virtual Sales Assistant
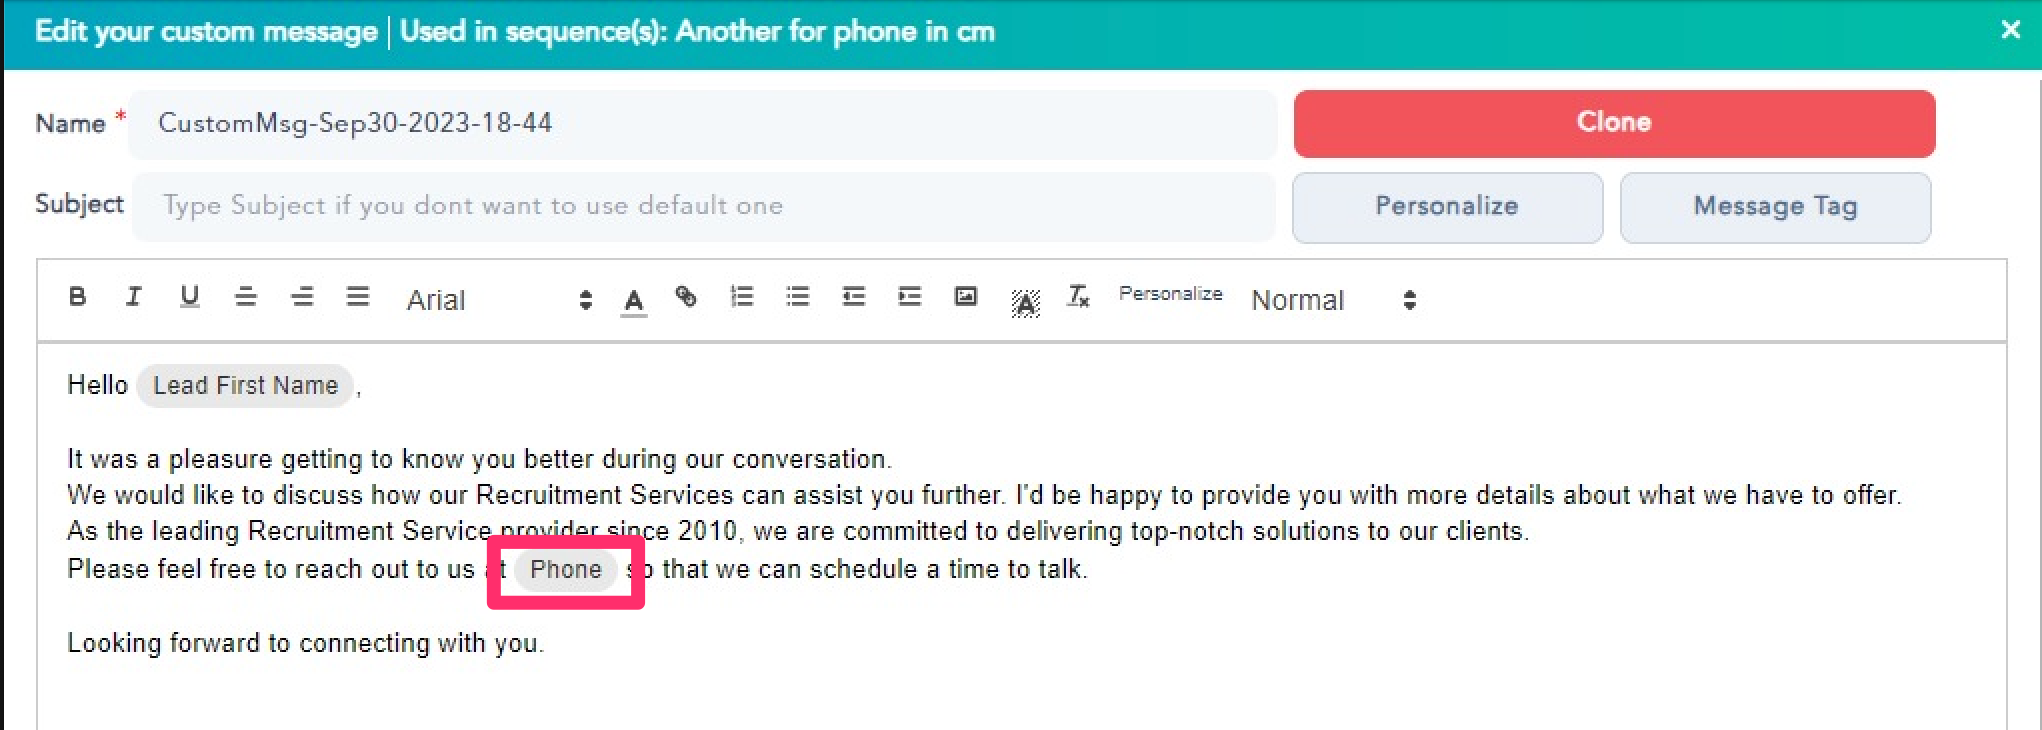
You’ll want to use specific fields unique to each lead from the uploaded Excel sheet, as personalize parameters within the custom messages used in your sequence.
This will help you make your custom messages generic enough.
e.g. such parameters could be Phone, Project, Investment, Business Problem, Icebreaker, etc.
You can pass value for these parameters or fields from the uploaded excel. While sending the actual message the value for the excel will be used to replace the Personalize variable/parameter name in the message.
Simply click on Personalize while creating or editing the message. Type the exact parameter name as the column name of the custom field from excel. Make sure to put the default value.
This is only for the custom parameters, the default ones are available from the drop down and those should be used and not typed.
Note below conditions:
emptyemptyempty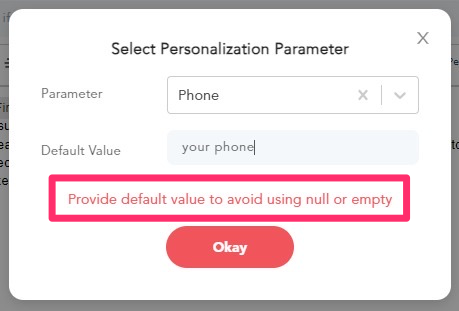
Below is the screen show depicting the excel which is uploading the leads with the custom parameters used while creating the message. Note the value is different for each lead in the excel.

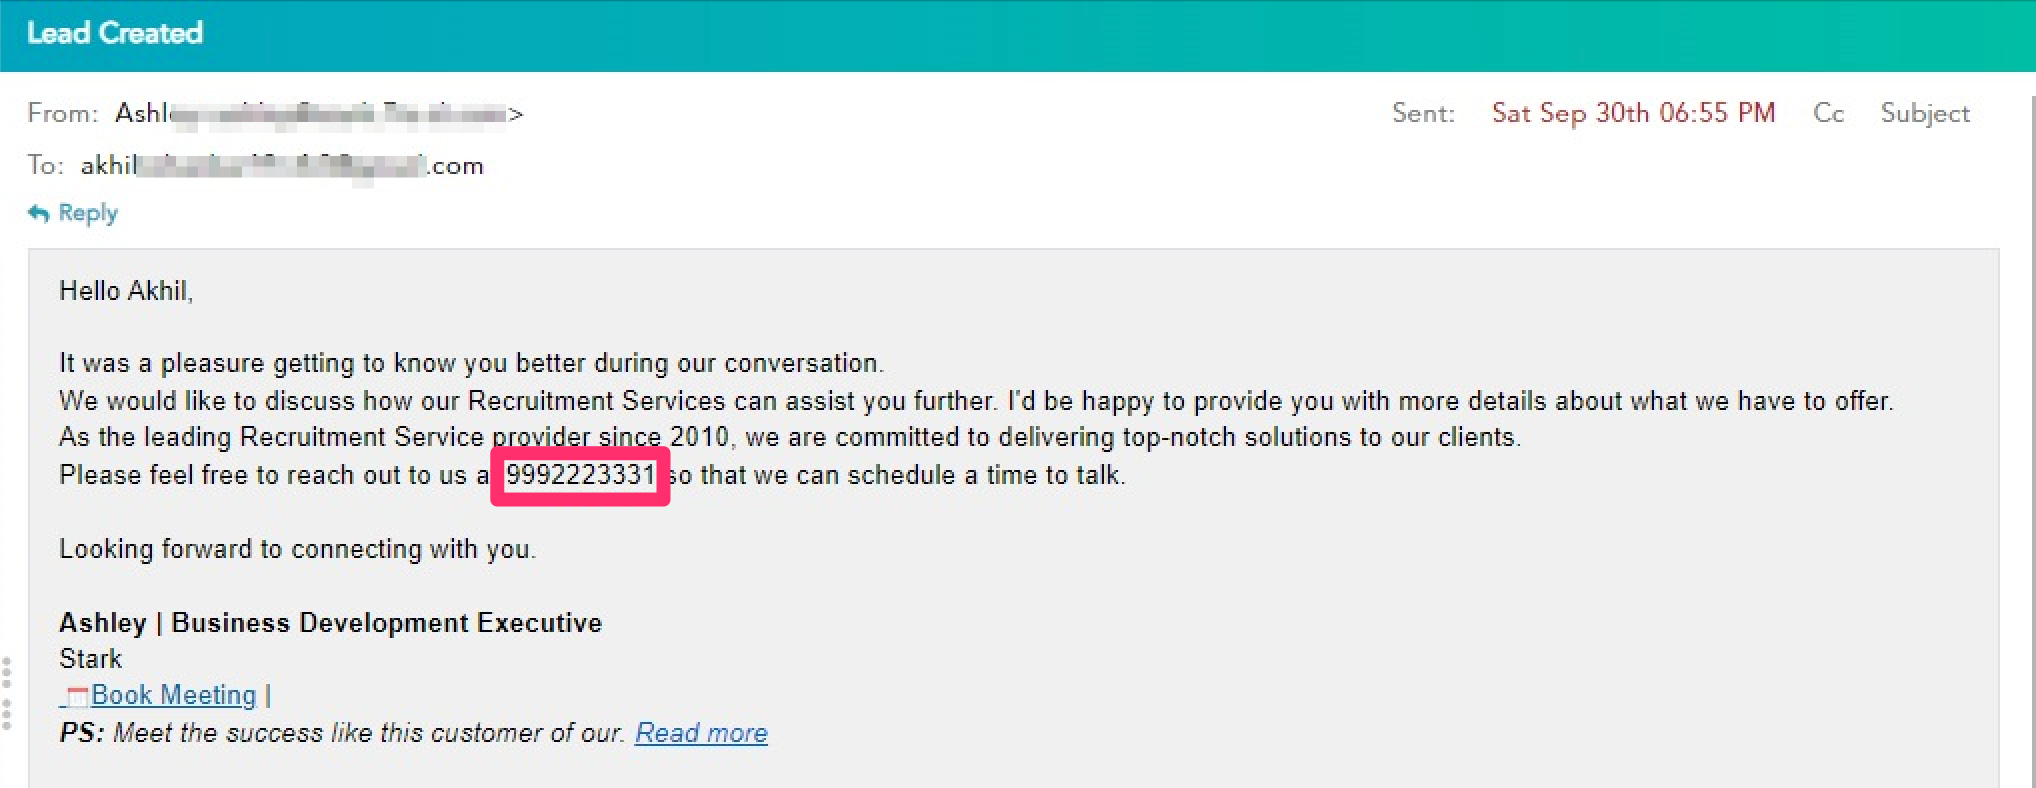
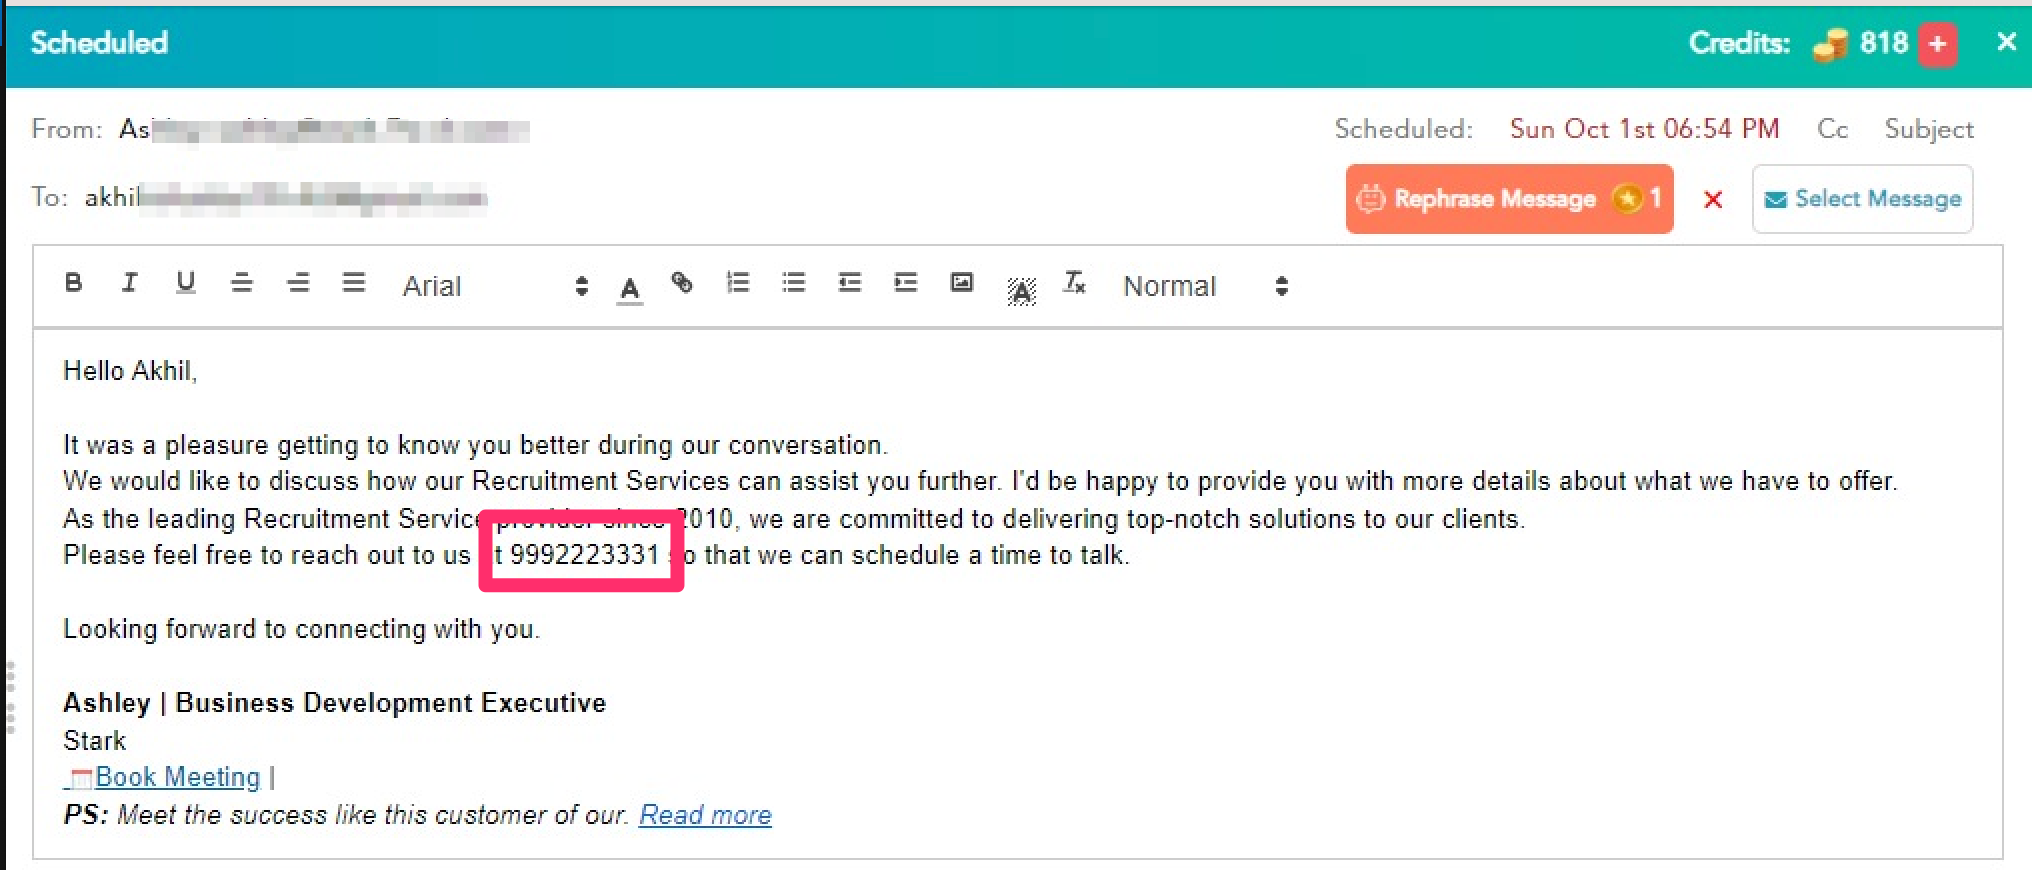
Now when the actual emails goes out you could see that the actual value was used from the excel. Note the screen shot of the email sent as well as scheduled. Schedule email will use the value of the parameter and show the message.