How do I schedule different Leads to send emails on different date ?
When you want to schedule emails to go on pre-determined date for individual leads so that all leads won't be scheduled on single day.
Knowledge Base for 7Targets AI Sales Assistant aka Virtual Sales Assistant
Simplified Email Integration with Your Company Domain on 7Targets for GMAIL
If you want your Assistant to send email from your company domain instead of <yourcompany>.7ts-e.com and your company domain email is on GMAIL for Business, then you can use this feature.
As of now, you need 2 assistants in 7Targets to get this feature working.
Before you start, make sure that you have the email address for your assistant ready on your domain.
For e.g. If you want to use Mia, make sure Mia@<yourcompany>.com is already created.
If such an email id does not exist, create it before moving to next steps.
If you don’t have the rights to create email in your organization, please get in touch with your IT administrator to take his help to create the required email id.
1st Assistant will have an email address that is on your domain. This assistant will be used for sending and receiving emails. Let me call her Mia. Mia@<yourcompany>.com
2nd Assistant will be used for composing messages, remembering the dates to send, processing the email responses, etc. Let me call this second assistant - Forwarder Forwarder@<yourcompany>.7ts-e.com.
You never have to worry about doing any specific settings for Forwarder. You have to work with Mia Assistant only. Forwarder is used ONLY once in the entire process configuration, and that is for setting auto forwarding email address.
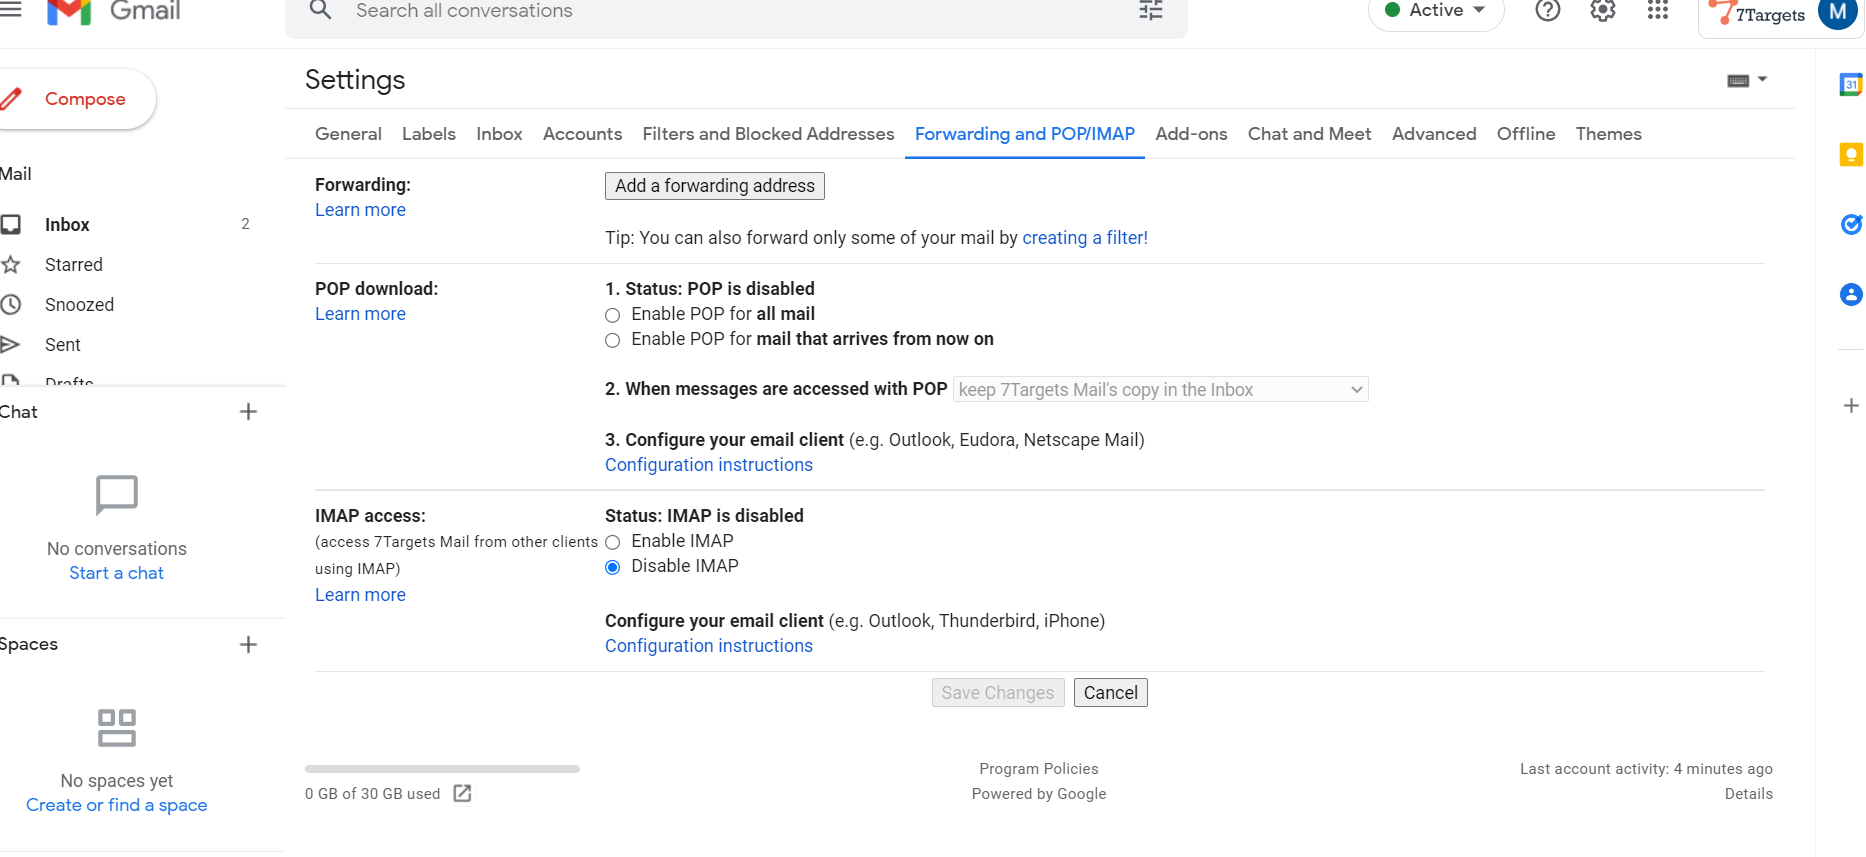
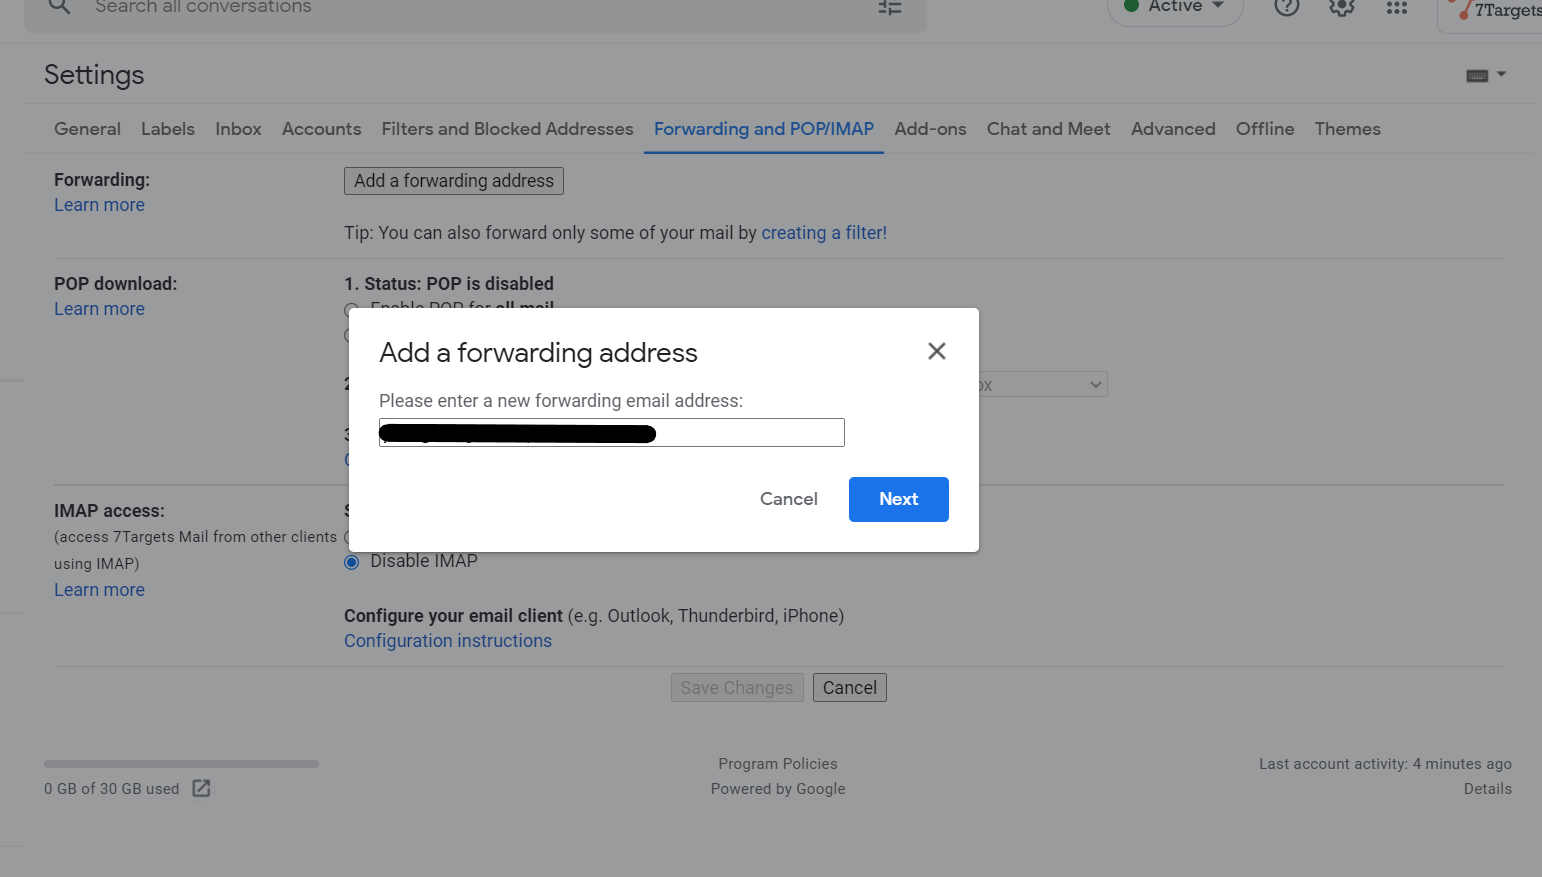
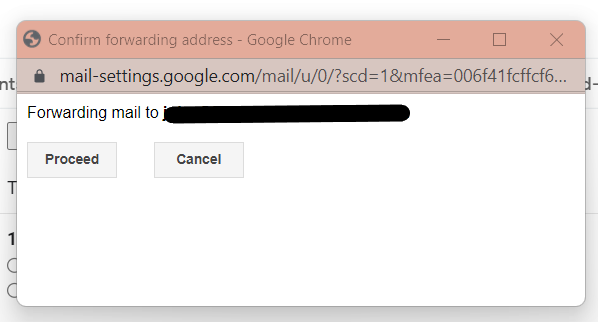
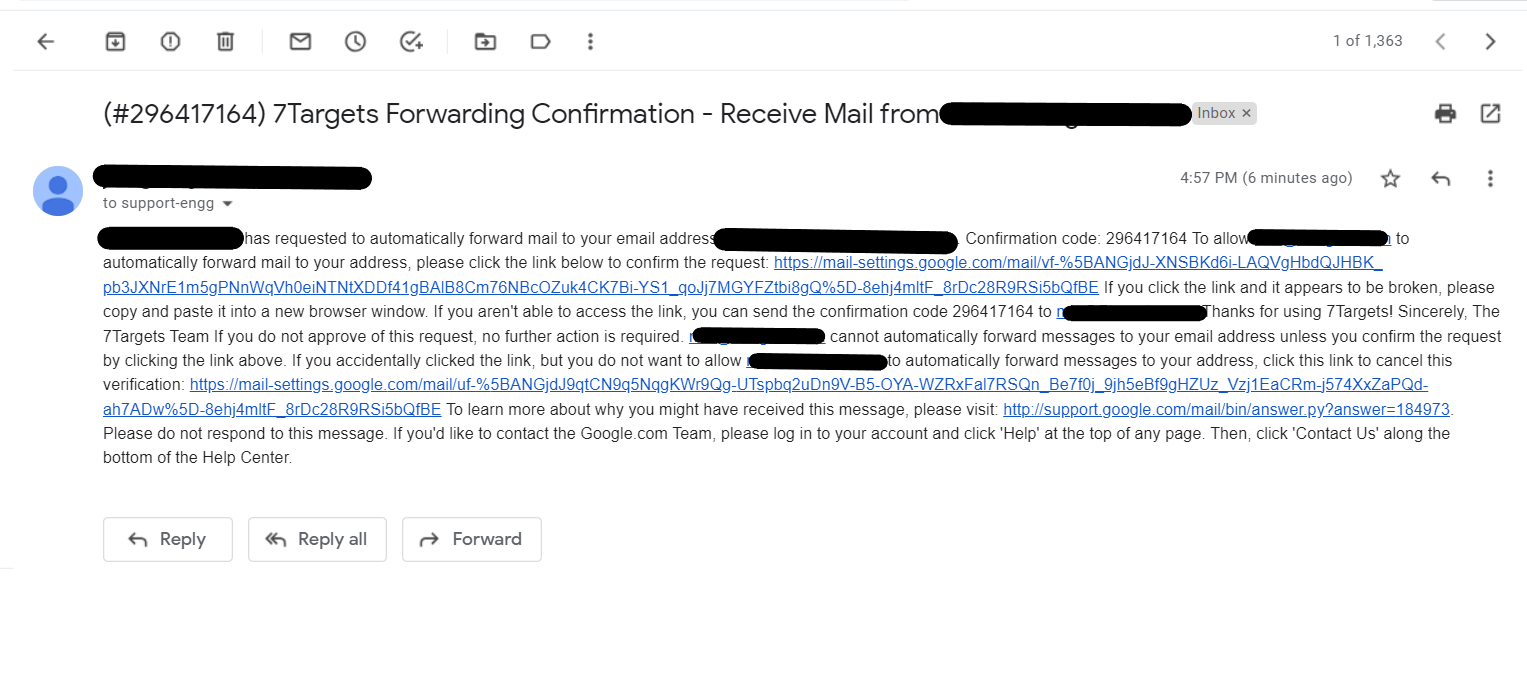
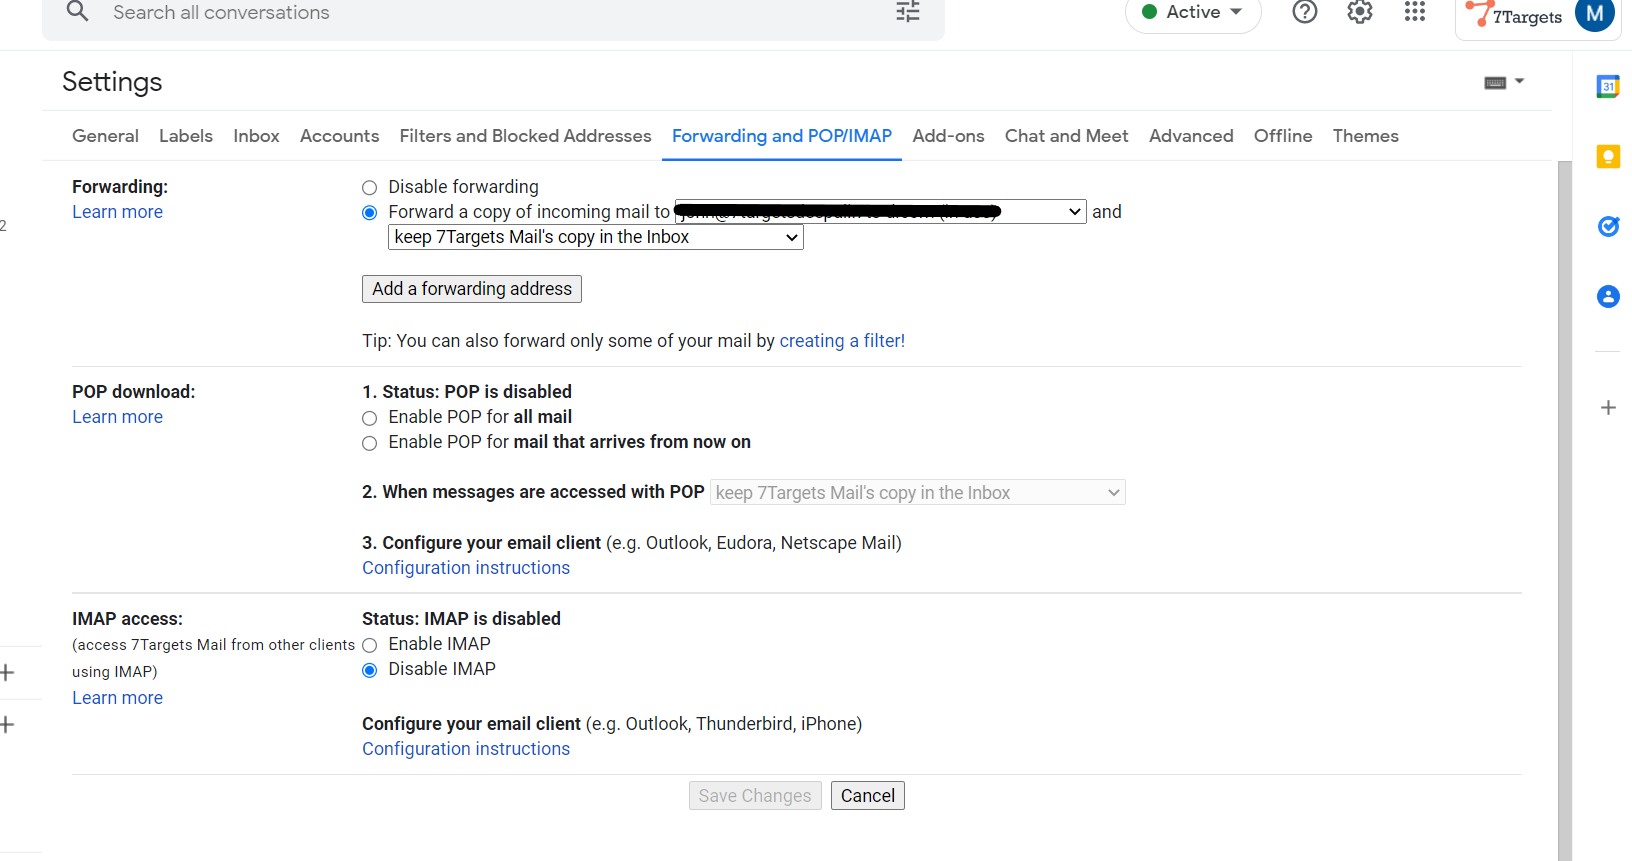
We will be setting an auto forwarding rule in Mia’s GMAIL box to forward all incoming emails to Forwarder.
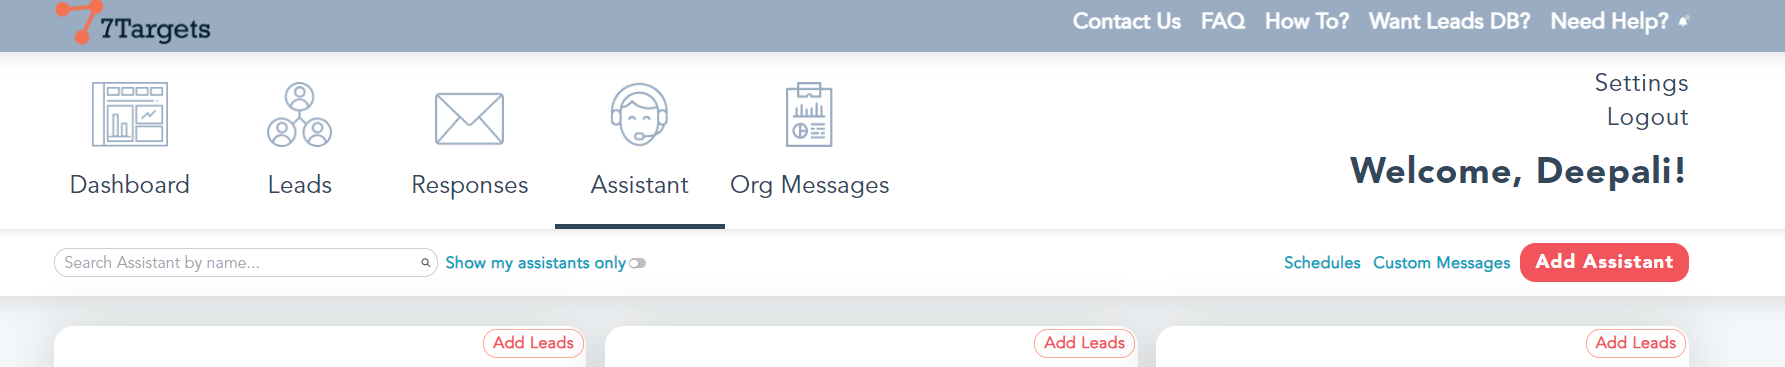
Login into 7Targets.
Create an Assistant named Forwarder. Do NOT select the option I want to use my own domain.
Go with the default settings and hit ‘Save’ assistant.
Make sure you see Forwarder Assistant in your list of Assistants.
This step is where we will create the actual assistant which will use your domain.
In 7Targets, Click on Create a new Assistant.
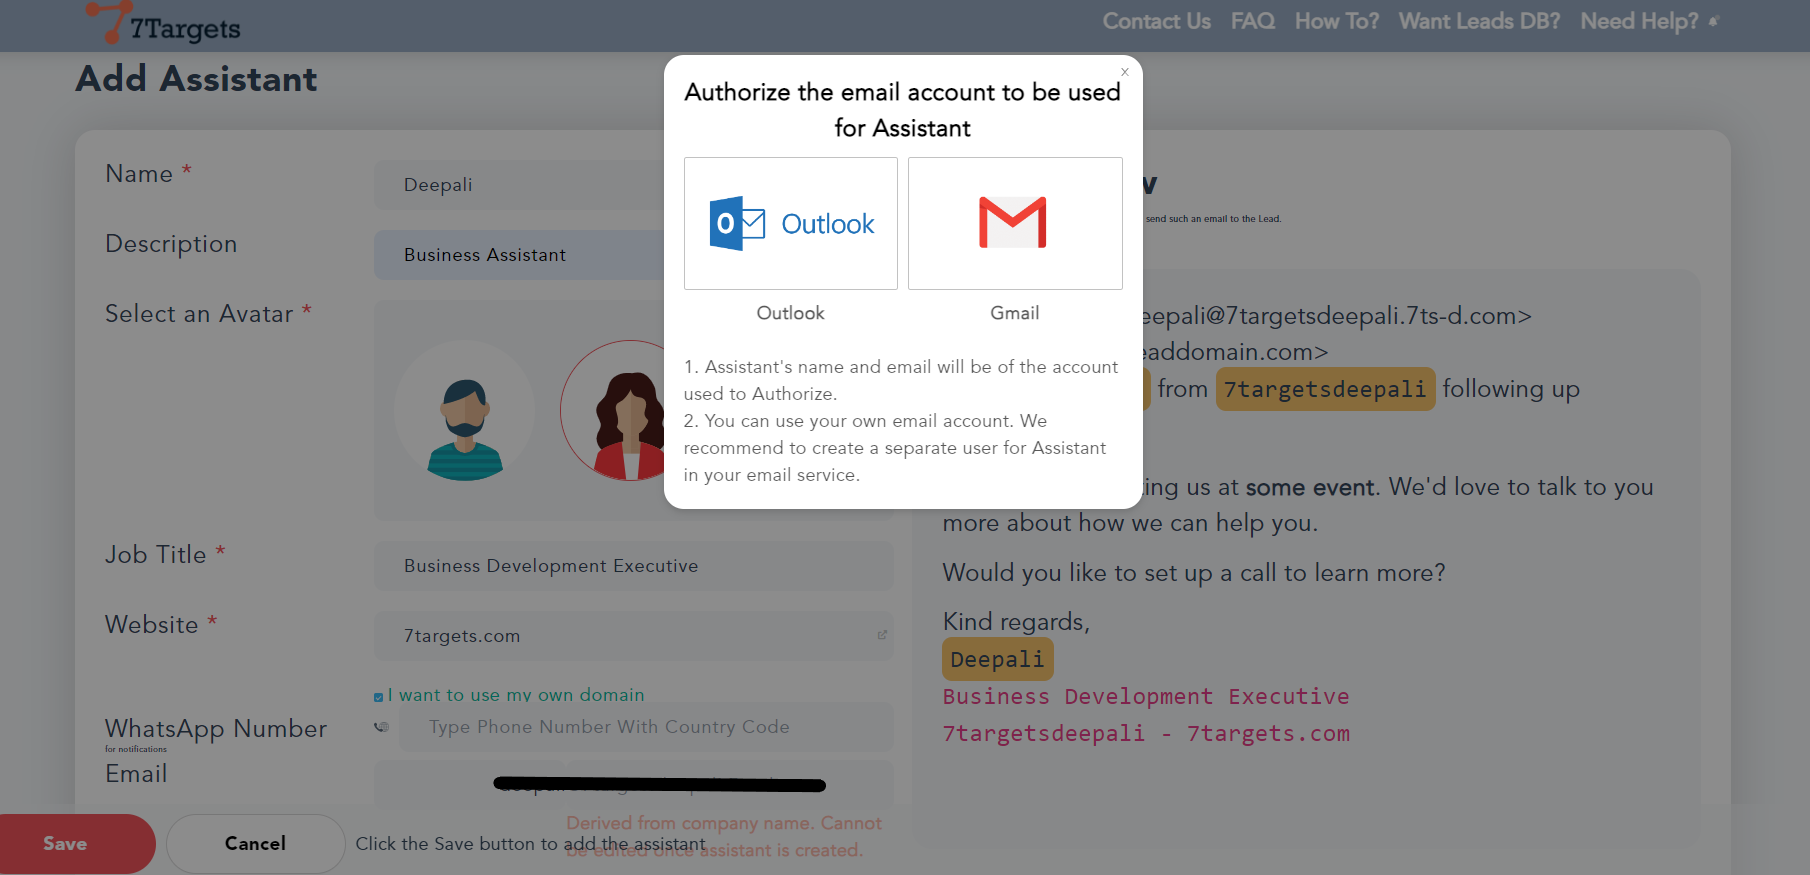
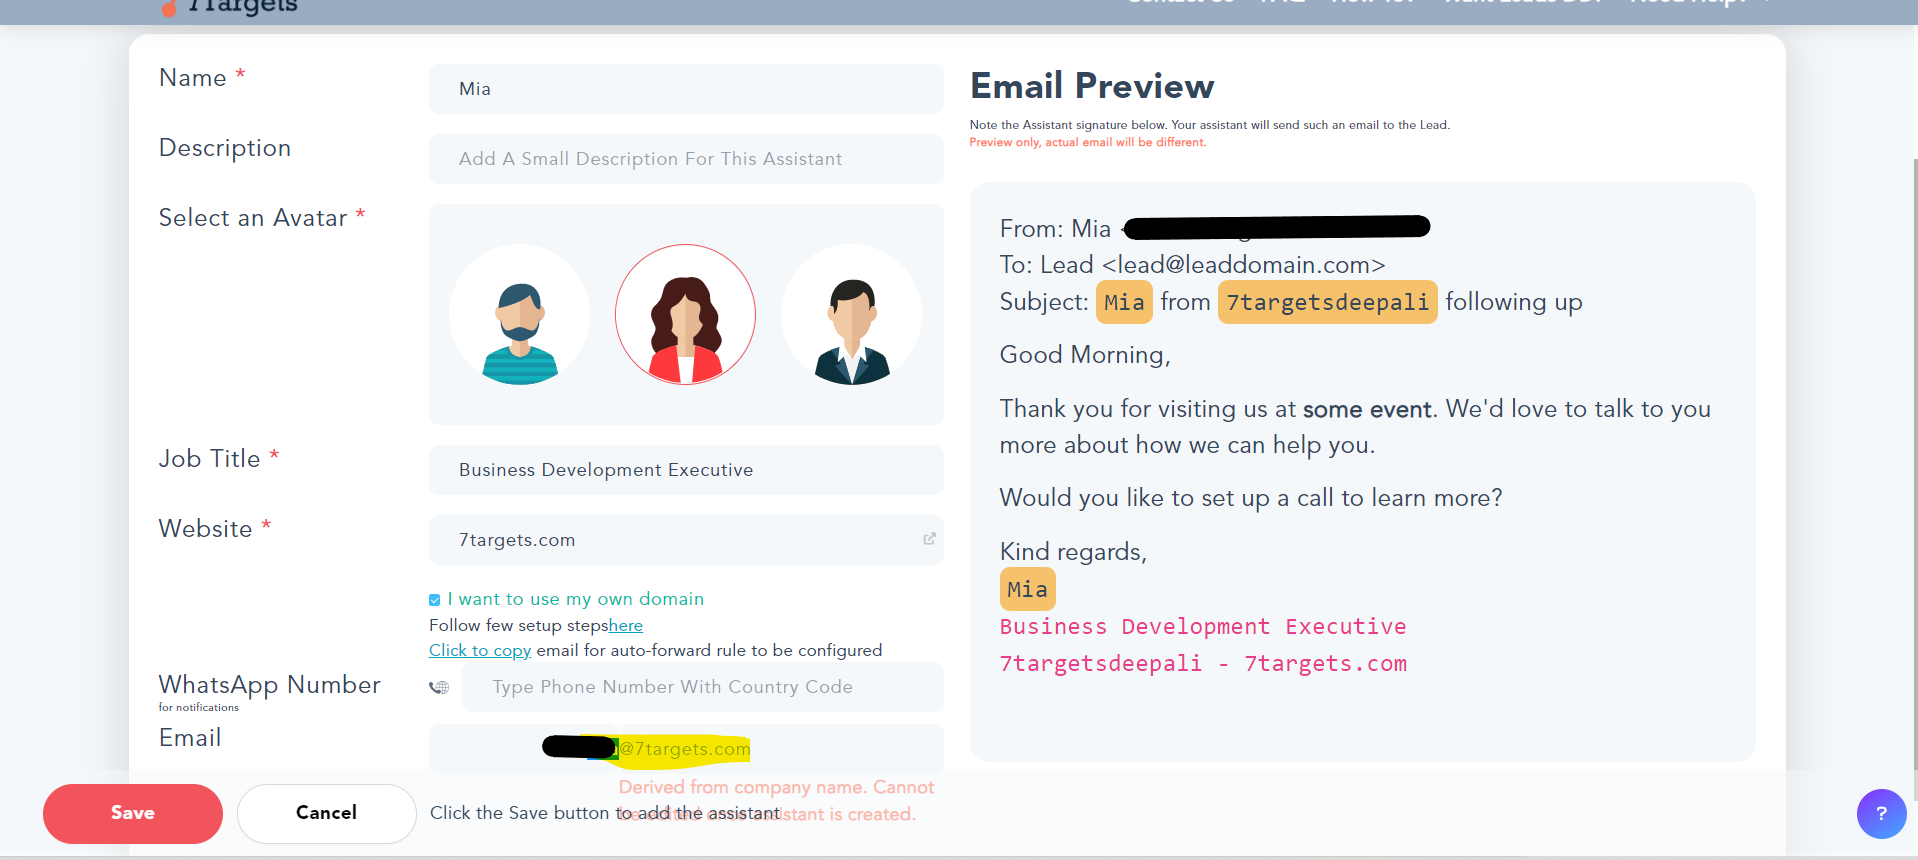
This time, make sure to select the option I want to use my own domain.
On clicking it, you would be asked to authorize the gmail account you want to use for the Assistant.
From the popup, select Mia’s account in your existing company email accounts.
Once Authorization is done,the following screen will be shown
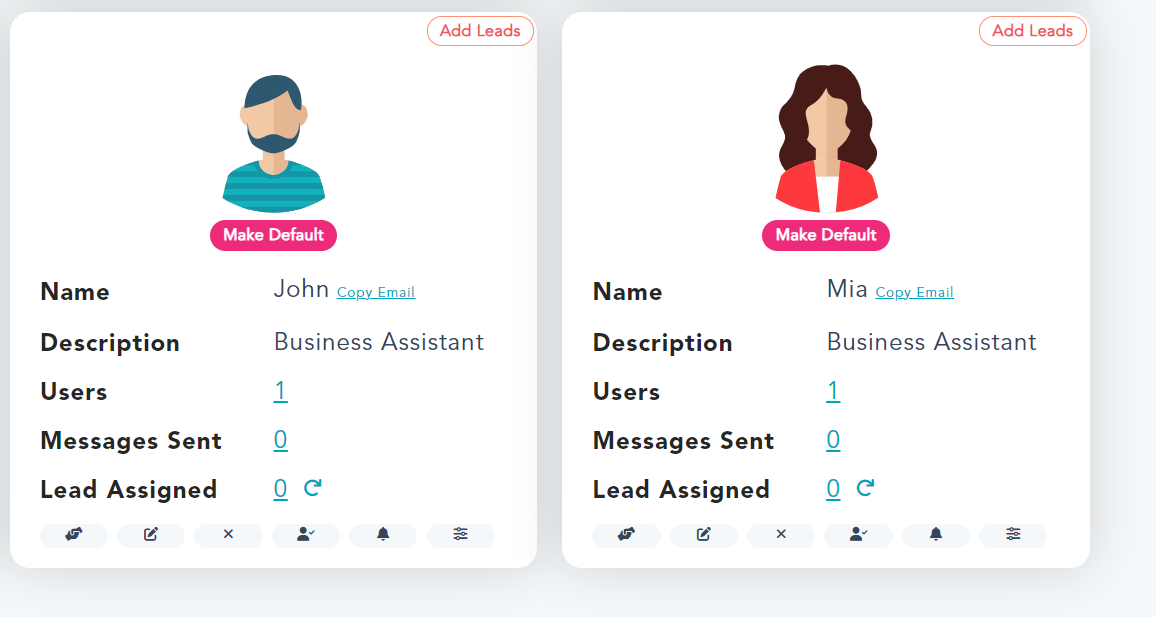
We can verify the Assistant Mia is created in Assistant’s Page.
After authorizing, you have to configure below mentioned steps
Forwarder@<yourcompany>.7ts-e.com. To ensure there are no spelling mistakes, you can copy Forwarder’s email from the 7Targets->Assistants page using Copy Email Address link.


To start work on leads, you need to assign them to Mia Assistant. To check status of leads, you can check it in Mia Assistant. You can ignore Forwarder Assistant for all everyday usability purposes.
If you see that valid responses to Mia are landing into Mia’s spam, we recommend you to set up the below email filter in Mia’s GMail box.
Assuming all Mia’s email will have your company name, whenever Mia receives a response, your company name will be in the response email as well. In all such cases, the email will not go into spam.
If an email goes into spam, the auto-forwarding rule is NOT triggered. Hence we need to ensure that auto-forwarding is triggered correctly. Without auto-forwarding, 7Targets cannot process the received emails. Hence it’s important to set this step right.